| Aft Section Log |
|
|
| ||||||
|
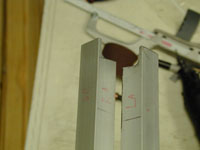
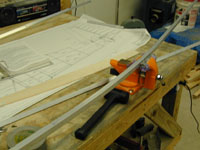
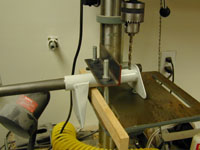
Home Project News February 3, 2021 Project Log Empennage Horizontal Stabilizer Vertical Stabilizer Rudder Elevators Rudder II Wing Kit Wings Fuel Tanks Ailerons Flaps Fuselage Kit Bulkheads Aft Section Foreward Section Top Fuselage Cabin Finish Canopy Cowling Electrical Firewall Forward Fuel System Engine Baffles Misc Miscellaneous Fiberglass Assembly Panel Finishing Up! FAQ Project Notes Project Summary Guestbook Other Stuff | The lower fuselage is made up of two main pieces the Aft section or the Tail Cone and the Forward section. They are joined together by the skins at the baggage compartment bulkhead. The aft section is nothing but the bulkheads aft of the baggage compartment and four skins. Mounted my vise to the table. Cut the F-718 R&L Longerons to length and started trimming the back of the longerons where they meet the rear F-712 bulkhead. Finished the trimming on the aft end of the longerons and started bending the longerons
Finished bending the longerons
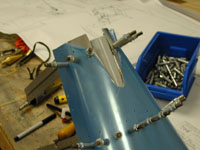
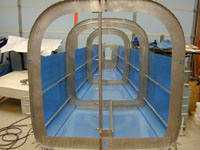
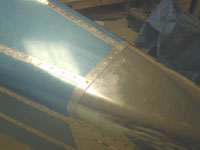
Drilled the aft caonopy decks to the longerons and finished bending and twisting both longerons. Started fitting the two aft bulkheads, the tail wheel spring mount and the lower tailcone skin together.
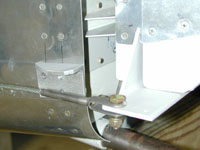
Almost finished trimming and fitting the aft bulkheads to the tailwheel spring mount. Started assembling the tail section.
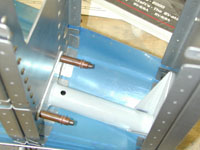
Drilled the mounting hole for the tailwheel spring and still tweaking the fit of the tailwheel spring mount.
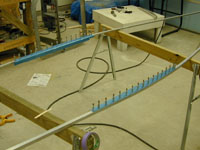
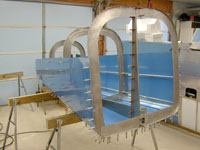
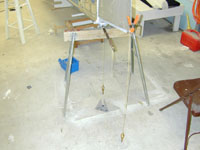
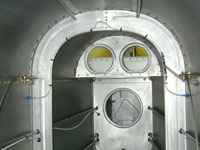
Finally got the tailwheel mount to fit like I want. Finished clecoing in all of the bulkheads to the rear fuse section. Flipped the fuse over and hung a couple of plumb bobs to check alignment. Rechecked the alignment of the fuselage and started drilling out holes. Finished drilling the holes in the rear fuselage section and started taking it all back apart, deburring and dimpling holes. Still deburring and dimpling Finished deburring and dimpling all the skins, and primed all the parts of the aft fuse section Reassembled the aft section and started riveting it together.
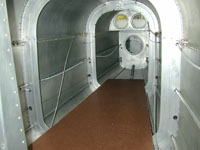
Got the wife to help me rivet a few of the bulkhead to bottom skin rivets. Finished riveting the tail section except for the parts that will be done when joining the other sections of the plane. Reattached the elevators and the rudder, fabricated and installed the rudder stops.
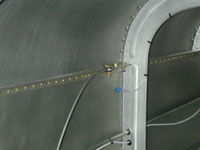
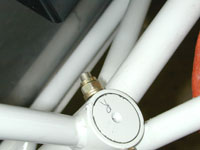
I messed up on locating the shoulder harness anchors in the aft fuselage. I only missed by a whole bulkhead. Anyway I have to fix it so I made a couple of parts and started gathering up the tools that I will need when I crawl back there. I crawled into the tailcone to fix a couple of problems. I had drilled the shoulder harness anchors to the wrong place and there was a low spot in my static tubing that I wanted to fix.
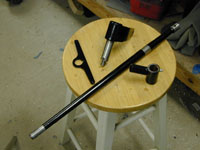
Removed the tailwheel spring from the fuselage, prepared and primed all the parts for the tailwheel assembly. Painted the tailwheel and piddled around measuring some more firewall forward stuff.
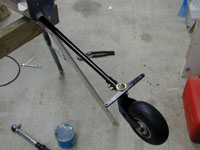
Assembled the tailwheel and installed it on the airplane. I also replaced the nylok nuts on the main gear attach points with all metal lock nuts.
|