| Elevators Log |
|
|
| ||||||
|
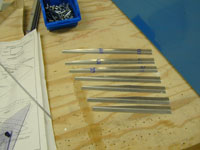
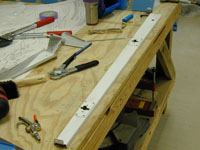
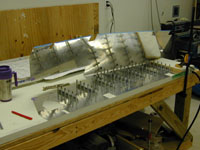
Home Project News February 3, 2021 Project Log Empennage Horizontal Stabilizer Vertical Stabilizer Rudder Elevators Rudder II Wing Kit Wings Fuel Tanks Ailerons Flaps Fuselage Kit Bulkheads Aft Section Foreward Section Top Fuselage Cabin Finish Canopy Cowling Electrical Firewall Forward Fuel System Engine Baffles Misc Miscellaneous Fiberglass Assembly Panel Finishing Up! FAQ Project Notes Project Summary Guestbook Other Stuff | The elevators are built just like the rudder except there are two of them, and the left one has a cut out for the trim tab. The trim tab is attached to the top skin of the elevator with a small piano hinge. There are also two elevator horns that must be drilled to the HS center bearing. Started laying out the stiffeners on the right elevator and cut the stiffeners from the angle provided.
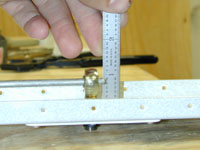
Drilled pilot holes in the stiffeners for the bottom right elevator skin and started fabricating the stiffeners for the top. Drilled the second set of stiffeners for the right elevator. Started deburring all of the right elevator pieces. Deburring right elevator parts. Drilled the stiffeners to the right elevator skin. Finished deburring all right elevator parts. Sanded, cleaned, coated and primed all the parts to the right elevator.
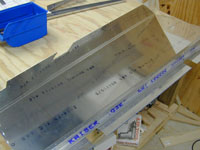
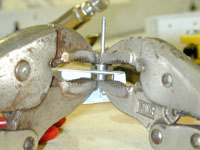
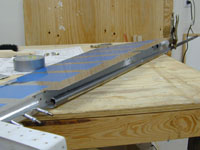
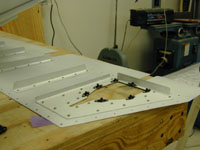
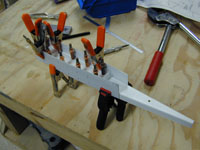
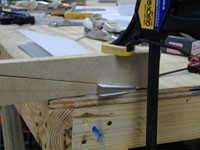
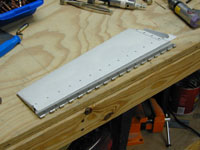
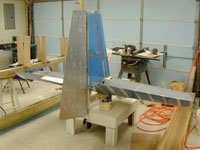
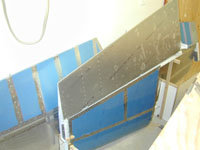
Riveted the stiffeners to the right elevator skin. Formed the trailing edge of the right elevator. Started putting the elevator skeleton together and built the V-Block jig for the elevators.
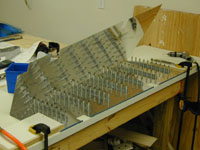
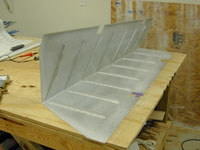
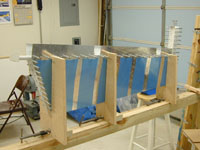
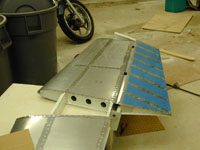
Straightened up the V-block jig. I wasn't happy with it. Riveted the tip ribs together. Looked dumbfounded at the manual and the prints for a while until I realized that I was too tired to continue and went to bed. Finished laying out the Right Elevator skeleton. Started drilling and dimpling holes to attach skin to skeleton. Finished drilling, deburring and dimpling holes. Riveted the right elevator together. Bent the leading edge and mounted to the HS. Drilled the pilot hole for the HS hinge. Right elevator is finished except for fiber glass and bolting on the counter weights.
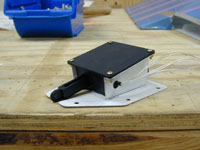
Started the left elevator. Fabricated and drilled all of the stiffeners. Trimmed the Z brackets for the electric trim servo mount and started deburring all of the parts in preparation for priming.
Deburring, Deburring, Deburring. Deburring, Sanding, Deburring, Sanding Etching, coating, priming. Drilled the spar to the left elevator skin and dimpled the holes in the spar. Drilled the rear spar to the skin and dimpled the rear spar (OOPs @#$%& I am supposed to machine countersink those) Undimpled the left elevator rear spar with the Avery squeezer and a flush rivet set. Countersunk the rear spar holes that match with the trim tab hinge. Finished dimpling the elevator skin and all of the stiffeners. Backriveted all the sitffeners to the elevator skin. Bent the little tabs on the elevator skin where the trim tab is. Started putting the skeleton together.
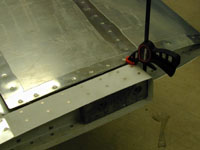
Mounted the elevator trim servo on the mounting plate. Assembled the reinforcement plate for the elevator trim and riveted it to the skin. Also worked a little on the skeleton.
Finished the left elevator skeleton and started drilling the elevator skin to the skeleton.
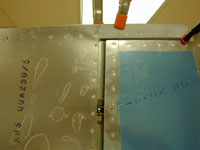
Deburred and dimpled the skeleton and skin on the left elevator. Put all the rivets in the left elevator except for where the trim tab hinge is to be attached. Finished the trim tab and riveted the hinges to both the trim tab and the left elevator. Assembled the tail for a picture and to try and convince myself that all of this stuff will really look like an airplane someday. Stored the tail away and did a little dance because - THE EMPENNAGE IS DONE!!!
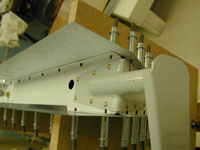
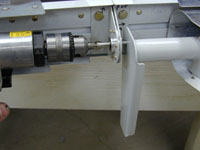
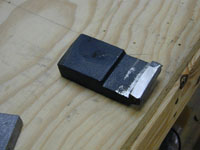
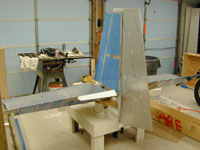
Decided to go back and work on the tail some more. I bolted the counterweights on the elevators and the rudder. Also got the fiberglass tips out and started contemplating fiberglass. Fixed and redrilled the center hinge holes in the elevator control horns. Drilled the holes in the elevator horn where the control push rod attaches, removed the elevators and started installing the tail on the fuselage. |