March, 2001 March 13, 2001 - 2 hours
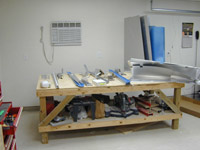
Recieved, inventoried, organized and stored the empennage kit.
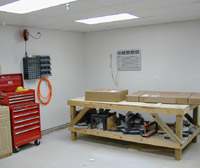
It all starts with two cardboard boxes. What will the future bring.
Where am I going to find a place to store all this stuff? There is more in those boxes than I thought. This is going to be great!
March 16, 2001 - 2 hours
Drilled the holes on the web of the rear spar. Started on the rear spar stiffeners.
The HS skins are clecoed to the rear spar channels, so the pilot holes can be drilled out to #40. Love those pre-punched parts.
March 17, 2001 - 4 hours
Finished drilling & deburring the stiffeners on the HS rear spar. Drilled and deburred the elevator hinge brackets. Riveted the bearing to the center elevator hinge bracket. I will have to wait to finish the rear spar until I find some primer.
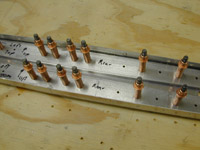
The stiffeners clecoed to the rear spar channels.
Close-up of the stiffeners clecoed to the rear spar channels.
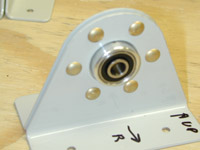
Bearing riveted to the elevator hinge bracket. First six rivets!!! Only 11,994 more to go.
March 18, 2001 - 2 hours
Fabricate HS-610 and HS-614 forward spar splice angles.
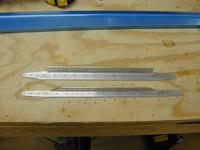
First two cuts in HS-610.
Finished HS-610 and HS-614 HS forward spar splice angle. Notice the undrilled holes. If I hadn't marked them I would have probably drilled them accidentaly.
March 21, 2001 - 1.5 hours
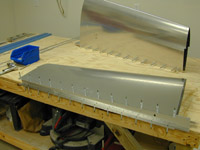
Trimmed the HS-602 forward spar channels, lined them up on the jig with the HS-610 and HS-614 splice angles and drilled the rivet holes.
This shows how I used a string and a plumb to make sure that everything was straight and centered.
Front spar with the splice angles clecoed on.
March 23, 2001 - 1.5 hours
Did some more trimming on HS-602 (front spar) and deburred it. See note.
March 24, 2001 - 1 hours
Bent the front spar and front spar splice angles. Started deburring ribs.
March 25, 2001 - 4 hours
Deburred and fluted ribs.
March 29, 2001 - 2.5 hours
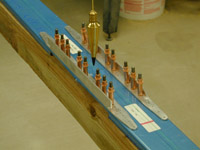
Cleaned, etched and primed all the parts of the HS rear spar.
March 30, 2001 - 1.5 hours
Riveted the rear spar together.
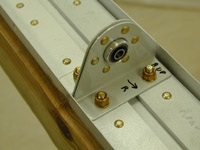
Completed HS rear spar.
Close up of how the center elevator hinge bracket bolts to the rear spar. Note: The bolts are in backwards in this photo. I discoverd this when I mounted the Elevators later in the project. I should really learn to look at the drawings.
March 31, 2001 - 2 hours
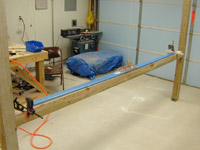
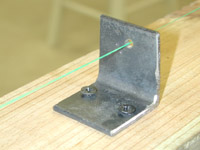
Worked on building brackets to fasten the rear spar to the jig.
This shows a close up of how I aligned the brackets to the jig. The dental floss was aligned with the center of the jig using two plumb bobs then all five brackets were aligned with the string as shown.