| Project Log - November, 2003 |
|
|
| ||||||
|
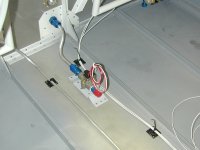
Home Project News February 3, 2021 Project Log Empennage Horizontal Stabilizer Vertical Stabilizer Rudder Elevators Rudder II Wing Kit Wings Fuel Tanks Ailerons Flaps Fuselage Kit Bulkheads Aft Section Foreward Section Top Fuselage Cabin Finish Canopy Cowling Electrical Firewall Forward Fuel System Engine Baffles Misc Miscellaneous Fiberglass Assembly Panel Finishing Up! FAQ Project Notes Project Summary Guestbook Other Stuff | Riveted the mounting bracket for the FlowScan fuel flow transducer to the floor and installed the transducer. Finished the fuel return line connection to the firewall.
Finished the starter cable, and played around a little with how I am going to run the wires through the little tunnel in the center of the floor.
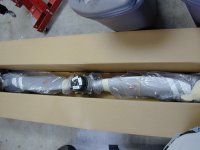
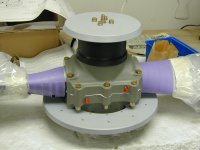
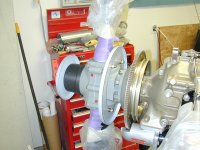
Took the Prop out of the box. It's a thing of beauty. I put it up on the work bench where I could get to it and started building the rear spinner bulkhead which is two parts riveted together but the hard part is cutting the strange shaped hole to fit around the prop.
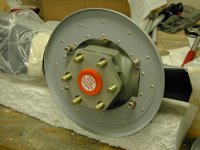
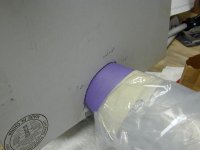
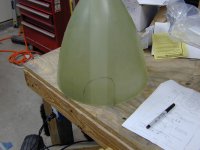
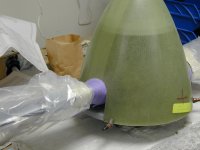
Primed the spinner bulkhead parts, and riveted the rear spinner bulkhead together. Then I mounted the bulkheads on the prop and made a template to trim the cutouts on the spinner. I used the template to cut the spinner. It took some time but it came out okay. I still need to trim the cutouts a little bit more but for now I just wanted to make sure that I wouldn't have to space the bulkheads any to get it all to work. When all that was done I mounted the prop to the engine. It is possible to do this alone but I won't do it again.
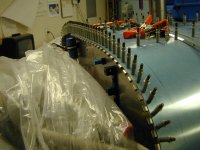
I drilled the hinges that go along the top of the firewall that will eventually hold the top cowling half on.
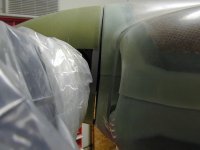
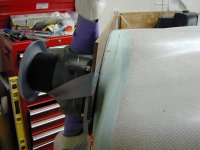
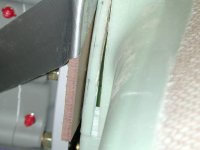
Started fitting the front of the two cowling halves together. Looks like there's going to be lots of sanding. I trimmed and sanded the top cowling half trying to get it to fit just right. The front flange seems to have a problem. It is tilted forward at the top and it looks like about a 1/4" is going to have to be removed or added to get it to fit.
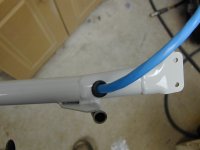
I drilled a hole at the bottom of the pilot's control stick for a grommet to pass the wires through from the stick grip.
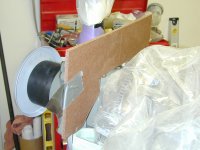
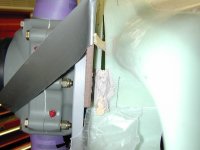
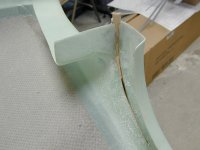
I fit the bottom cowling on temporarily just to get a better feel for what it is going to take to get this whole thing to fit right. After much head scratching and sanding I have decided that the top cowling won't fit as is and I am going to have to cut it. Now how am I going to do that? Okay I think I figured out how to get this thing to fit. I'm going to cut it toward the bottom of the flange and move the bottom forward and then fiberglass it from the back. Today I spent a bunch of time getting it all back together. Then I made the cut and got it all positioned and ready to glass.
|