| Project Log - July, 2005 |
|
|
| ||||||
|
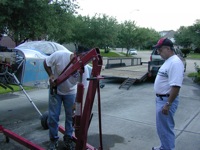
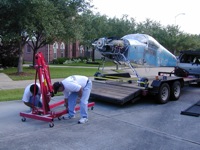
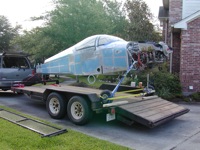
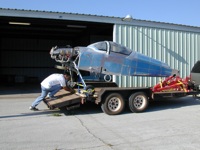
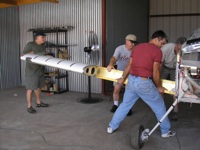
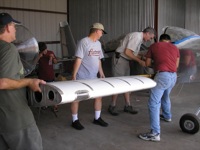
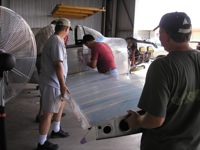
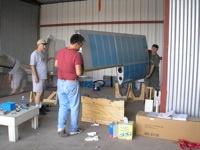
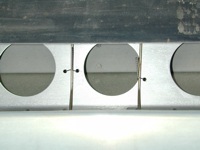
Home Project News February 3, 2021 Project Log Empennage Horizontal Stabilizer Vertical Stabilizer Rudder Elevators Rudder II Wing Kit Wings Fuel Tanks Ailerons Flaps Fuselage Kit Bulkheads Aft Section Foreward Section Top Fuselage Cabin Finish Canopy Cowling Electrical Firewall Forward Fuel System Engine Baffles Misc Miscellaneous Fiberglass Assembly Panel Finishing Up! FAQ Project Notes Project Summary Guestbook Other Stuff | Loaded a bunch of small airplane parts into the car and took them to the hangar. Mostly just covers and fiberglass stuff. I'll really get starting moving stuff tomorrow. Loaded up all the control surfaces, a bunch of tools, and the wings and took them to the airport. I tested the fuel tanks and found a couple of leaks. The leaks weren't associated with the covers that I just re-did either. That doesn't give me a warm fuzzy feeling. I found one tiny leak in each tank so I did the ProSeal thinned with MEK trick, and pulled a small vacuum on the tanks and let this stuff wick into to the leak for a couple of hours and then put some unthinned ProSeal around that just for good measure. Moved the fuselage to the hangar. I guess that makes it official. The bird has left the nest. Now all I have to do is bolt all these parts together and go fly. I also managed to get my toolbox loaded up and out there.
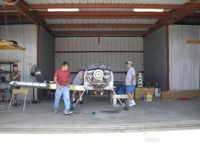
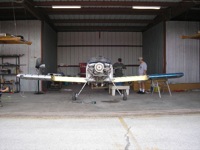
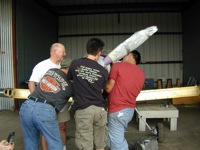
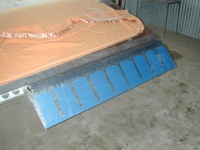
Loaded up a bunch more stuff to take to the hangar. It's gonna take forevever to get all the little tools and pieces-parts that I'll need to the hangar. I also took the plans and started putting the tail together. I got a call from a customer that is having trouble and that put a damper on the tail assembly. Oh well I also got to go sailing and watched the fireworks from a boat anchored in Upper Galveston Bay. Life is good. I finished bolting the Vertical and Horizontal Stabilizers to the fuselage. I had forgotten to put the nutplates on the Horizontal Stab. for the empennage fairing so I had to stop and do that too. It's really fun to be putting these things on permanently. Installed the Rudder. Put the elevators on the plane and started installing the trim servo. I'm gonna have to do some more trimming on the elevator to get the trim servo linkage to clear. Had a hangar warming party today to let people take a look at the plane and help find squaks. I got some good suggestions and a few squaks. Also managed to get the wings on the plane with the NAS bolts and we put the prop on too.
Finished installing the trim servo in the left elevator and I managed to get the elevators balanced. Got the bolts in and torqued for the elevators except for the center bolt that goes through the horns. My hole was a little close to the welds so I may have to put a socket head screw in there instead. I also managed to get the right aileron on.
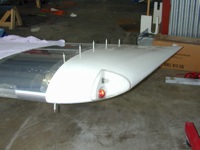
Finished the elevator attach. I wound up putting a washer underneath the bolt head and grinding a little relief on the back side of the washer to clear the weld. I had to use a longer bolt. Installed the big elevator push tube and torqued that all up. Installed the left aileron. Torqued the rear spar attach bolt on the left wing and installed the cotter pin but I couldn't get the nut to line up on the right side and at the correct torque. I need to order some more bolts and nuts so that I can try some different combinations.
Torqued up the 20 bolts that attach the main wing spars to the center section. Now all I lack having the wings on permanent is that rascally little bolt on the right rear spar.
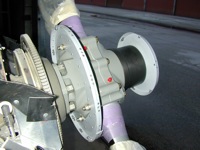
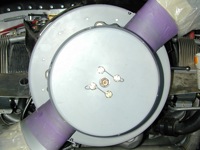
Fixed the spinner backplate. Torqued the bolts on the starter. Tightened up the little fuse gusset bolts. Put the little elevator pushtube in and started to install the control sticks.
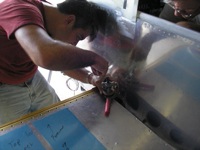
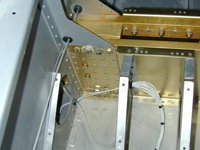
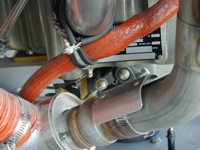
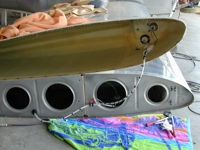
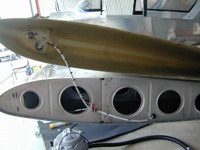
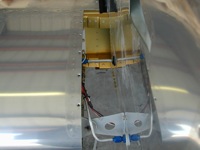
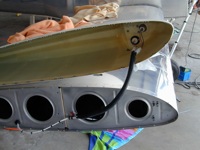
Installed a small heat sheild on the exhaust where to keep some heat off the fuel line. Ran the two little air tubes for the AOA up to the AOA CPU. I also started connecting the autopilot wires that I had stubbed out under the floor pan of the passenger side. I had a couple of wires that had lost their labels along the way so I had to remove the servo from the wing to get to the little D-sub connector so that I could identify those wires. It wasn't as bad as I thought and I'm glad I did it because I'd forgotten to put any loctite on the bolts holding the servo.
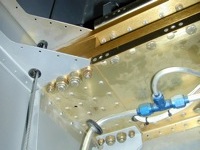
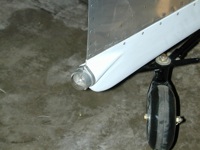
Finished hooking up those wires to the autopilot and reinstalled the servo into the wing. There are two wires that can be interchanged on the servo that determine the direction that it works. I wanted to make sure that I had these right before I buttoned it all up so I turned on the autopilot and wiggled the wings and tail to make sure that it would try to move the aileron in the right direction. It did! That was way too much fun! Then I finished all the wiring on the lights. I did both wingtips and the tail, dug out the right fuses and started flipping switches. I had one small problem with the left position light. The factory connector had been put on too tight and pinched the ground wire. Fixed that right fast. I turned on the position lights and they worked then I flashed the landing/taki lights and they worked and then I tried the strobes. That was a lot of fun too. So while I had all the wiring tools out I decided to finish up any wiring that I could find and the only thing around was the capacative fuel sender adapters for the EI Fuel Gauge. So I put those on. Unless I'm forgetting something that should be the last of the wiring.
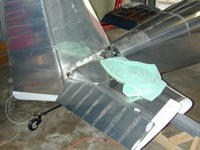
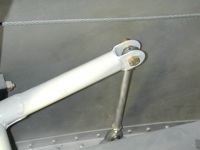
I got a new bolt for the right rear spar today so I installed that one. It still took a couple of iterations to get it torqued and lined up but I had plenty of washers, bolts and nuts to play with. I installed the flaps and hooked up the control rods to them. I also managed to get the tailwheel springs on but I'm not sure that I like them very much.
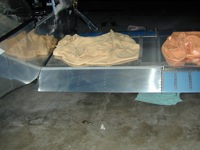
I put the tanks on and hooked up the tubing. It's gonna take longer than I thought to get all those bolts and screws tight. I need a smaller ratchet. Fiddled with the tanks some more. I managed to get one on and the other one started.
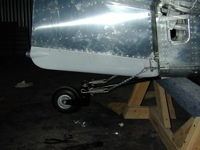
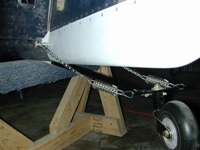
Managed to get the left tank on. There were a few bolts that were trying to be difficult but I managed to get them in. I tightened up the tail wheel chains and that made the rudder interference problem worse. I think I'll have to try that Rocket Steering Link. I also started rigging the ailerons.
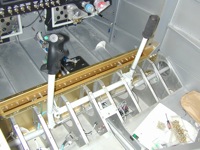
Started rigging the ailerons and installing all the control stick stuff. I discovered a little interference with the bellcrank and the short aileron push tube. I rechecked everything, from finding the neutral position with the aileron jig. I decided that the way to fix it was with the "optional" aileron stops. This pretty much took the rest of the day. Oh and I put a little adel clamp on the ELT antenna so that it wouldn't be flopping around back there tearing up something important.
|