| Project Log - June, 2005 |
|
|
| ||||||
|
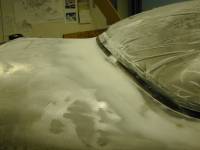
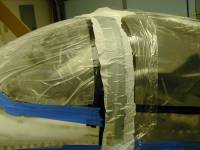
Home Project News February 3, 2021 Project Log Empennage Horizontal Stabilizer Vertical Stabilizer Rudder Elevators Rudder II Wing Kit Wings Fuel Tanks Ailerons Flaps Fuselage Kit Bulkheads Aft Section Foreward Section Top Fuselage Cabin Finish Canopy Cowling Electrical Firewall Forward Fuel System Engine Baffles Misc Miscellaneous Fiberglass Assembly Panel Finishing Up! FAQ Project Notes Project Summary Guestbook Other Stuff | Tonight I was getting ready for doing the fiberglass layup around the windsheid where it meets the canopy. I got a long piece of cardboard and layed it out on the table and then cut three pieces of 8oz BID cloth for the layup. Vern finished sanding the fiberglass transition from the windshield to the fuse and we got the glass layed up between the windshield and the canopy. I got a call from West Houston Airport today and I am getting a T-hangar the first of the month.
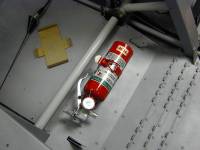
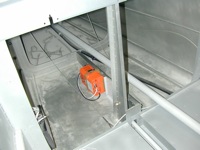
Riveted the fire extinguisher bracket down to the floor right behind the passenger seat. It'll be hard to get to but I think I'll be able to push the seat forward and reach it.
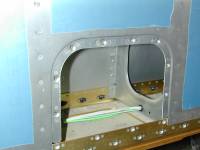
I installed all the nutplates on the wings for the inspection covers and the fuselage fairing.
Put the nutplates on the tanks where the fuselage fairing connects.
Filled and attempted to bleed the brakes. I have them pretty well bled but there is a little air in them that still needs to come out. My problem was the silly little pump that I used to fill the system. The idea is to use some kind of pump to fill the brakes from the bottom up but I think the one that I used was putting air in the line. I'll try again with a better pump. Finished riveting the last of the fiberglass empennage tips. It feels good to be finished with that chore.
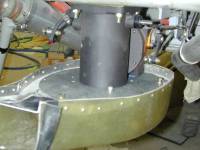
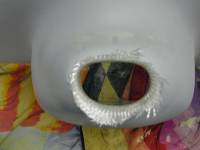
I started fixing the filtered air inlet. I installed the split ring on the AFP fuel controller upside down and that moved the whole thing down a half inch. Now it's right so I have to cut the inlet duct off and re-fiberglass it.
I glassed the new inlet duct for the FAB.
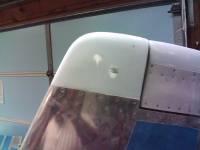
Sanded on the fiberglass roll bar fairing. I put another couple of layers of glass on the inlet duct. I sanded off the foam and then put two more layers around the two layers that I put on yesterday.
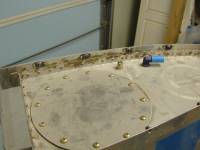
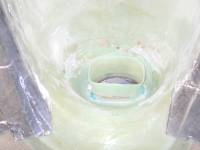
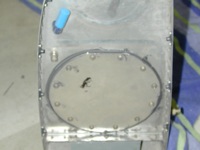
Cut the roll bar fairing back to the proper width. I sanded and shaped the fairing as best I could and then mixed up a batch of Epoxy / Microballons and smeared it all over the thing, to try and make the transitions smooth. Sanded the filler off of the roll bar fairing and then put some more filler on it. How do people build plastic airplanes? Sanded and sanded on the roll bar fairing. I think I just about have it. It needed just a touch up of filler so I put some of that on it and hopefully I can call it good tomorrow. Trimmed and sanded the new induction air inlet on the cowling. I added some filler to get it all nice and smooth. There is still some sanding in my future. I decided that I didn't like the cork gaskets, so I took the access covers off and pro-sealed them in place instead.
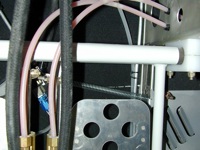
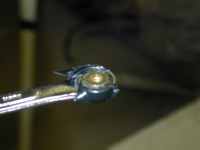
I've been meaning to put a spring on the parking brake valve since I installed it. I finally figured out how to do it. I wanted to drill a hole in the arm of the valve but I couldn't get the drill in there without removing the valve or the rudder pedals. So I took a piece of stainless and made sortof an elongated washer with an extra hole and put it behind the control cable end nut, then put the spring through the little hole.
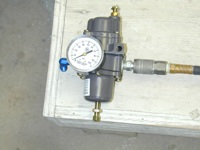
I borrowed a regulator and a gauge from work this weeked to check my Oil and Fuel pressure senders. I assembled a small test right with it and used shop air to test them. They both worked perfectly. I also boiled some water and checked my oil temperature transducer.
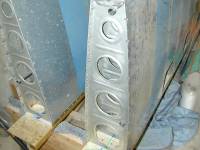
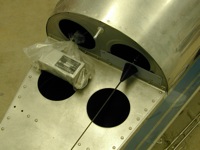
Installed the ELT behind the baggage compartment on the lower rib that the elevator bellcrank is mounted on. I put the antenna under the emp fairing.
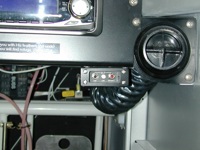
It took entirely too long for me to run that wire for the ELT but I finally got the little remote installed on the right side of the panel.
Installed the rest of the little #8 screws and nuts that hold the canopy rails down.
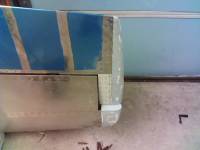
Installed the fuel pump / filter assembly, and fuel selector valve for what I hope is the last time. Put the nutplates around the bottom of the Vertical Stabilizer for the emp fairing attach points. Cleaned up and started getting ready to move airplane parts out of the garage. Tomorrow it starts heading to the hangar. |